
2020来一起看看vue-quill-editor富文本编辑器的简单使用方法
来我博客的老朋友应该都知道我现在处于vue的深坑之中,最近在写alone-admin后台管理系统,对于后台管理系统,富文本编辑器应该说是必备的,而选择一款好的富文本编辑器是很重要的。就像我现在博客用的富文本编辑器是Simditor,我挺喜欢Simditor的ui设计的,感觉很清爽,而且还有重要的一点,Simditor 支持上传图片时添加图片的alt属性,图片的alt属性对SEO是很重要的,而奇怪的是,我找了好久其它的富文本编辑器,都不支持图片上传时的alt属性填写,不知道为啥!!!包括这篇文章要介绍的quill富文本编辑器,而更让人胃疼的是当前最新版本的Simditor对vue或者说是npm的支持并不太友好,并且没文档,还有就是Simditor从官网下载的demo,一打开全是报错,不知道作者咋搞得!
所以无奈之下,试试quill这个富文本编辑器怎么样吧。vue-quill-editor相当于quill的vue版,小伙伴们不要有疑惑哦。
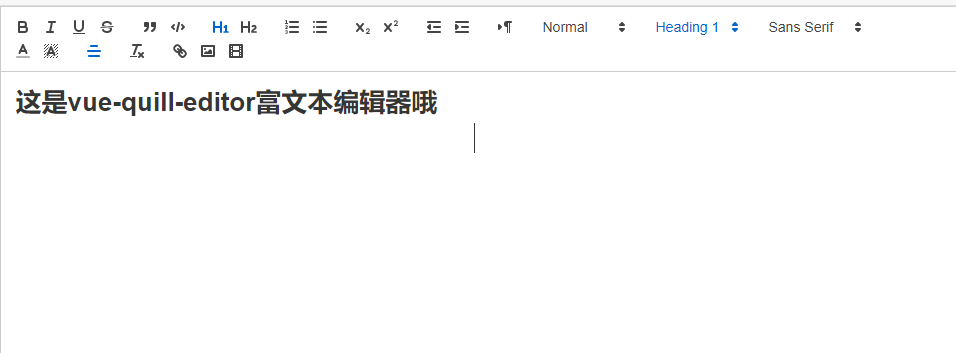
先预览一下vue-quill-editor是什么样吧。
一、安装vue-quill-editor
npm install vue-quill-editor --save
二、引入和使用
这里有两种引入方式,一种是全局引入,一种是直接在使用quill富文本编辑器的组件内引用,也就是局部引入
1、全局引入:
在main.js中添加以下代码:
import VueQuillEditor from 'vue-quill-editor'
import 'quill/dist/quill.core.css'
import 'quill/dist/quill.snow.css'
import 'quill/dist/quill.bubble.css'
Vue.use(VueQuillEditor)
然后在QuillEditor.vue组件文件中这样写:
<template>
  <div class="edit_container">
        <quill-editor
            v-model="content"
            ref="myQuillEditor"
            :options="editorOption"
            @blur="onEditorBlur($event)" @focus="onEditorFocus($event)"
            @change="onEditorChange($event)">
        </quill-editor>
        <button v-on:click="saveHtml">保存</button>
    </div>
</template>

<script>
export default {
  data(){
     return {
            content: `<p>hello world</p>`,
            editorOption: {}
        }
  },computed: {
        editor() {
            return this.$refs.myQuillEditor.quill;
        },
    },methods: {

        onEditorReady(editor) { // 准备编辑器
        },
        onEditorBlur(){}, // 失去焦点事件
        onEditorFocus(){}, // 获得焦点事件
        onEditorChange(){}, // 内容改变事件
        saveHtml:function(event){
          alert(this.content);
        }
    }
}
</script>

<style>

</style>
然后在你需要使用的页面直接调用这个组件就行了。然后你看到的应该是这样的:

2、局部引入:
直接在QuillEditor.vue组件文件中这样写:
<template>
  <div class="edit_container">
        <quill-editor
            v-model="content"
            ref="myQuillEditor"
            :options="editorOption"
            @blur="onEditorBlur($event)" @focus="onEditorFocus($event)"
            @change="onEditorChange($event)">
        </quill-editor>
        <button v-on:click="saveHtml">保存</button>
    </div>
</template>

<script>
	import 'quill/dist/quill.core.css'
	import 'quill/dist/quill.snow.css'
	import 'quill/dist/quill.bubble.css'
import { quillEditor } from 'vue-quill-editor'
export default {
	components:{
		quillEditor
	},
  data(){
     return {
            content: `<p>hello world</p>`,
            editorOption: {}
        }
  },computed: {
        editor() {
            return this.$refs.myQuillEditor.quill;
        },
    },methods: {

        onEditorReady(editor) { // 准备编辑器
        },
        onEditorBlur(){}, // 失去焦点事件
        onEditorFocus(){}, // 获得焦点事件
        onEditorChange(){}, // 内容改变事件
        saveHtml:function(event){
          alert(this.content);
        }
    }
}
</script>

<style>

</style>
到这篇文章文章就结束了,对于vue-quill-editor的使用,其实自己也是踩了很多坑,网上的教程千篇一律,都是抄啊抄,并且好多都不是最新的,也许这篇文章在你看来质量也不高,但这确确实实是博主认认真真写的,并且是博主亲自试验过的。希望对你会有帮助。
PS:如果你安装了eslint校验,那么你可能会遇到 “**”is defined but never used no-unused-vars这样的报错,不要慌,看博主下篇文章,轻松解决。没遇到的话那就更爽歪歪了。
作者:K先生本文地址:http://www.gold404.cn/info/86
版权声明:本文为原创文章,版权归 K先生个人博客 所有,欢迎分享本文,转载请保留出处,谢谢!
文章评论
评论列表
测试一下评论
K先生 游客: 二级评论啊
2020-07-13 09:44来自Chrome浏览器